Part 2...
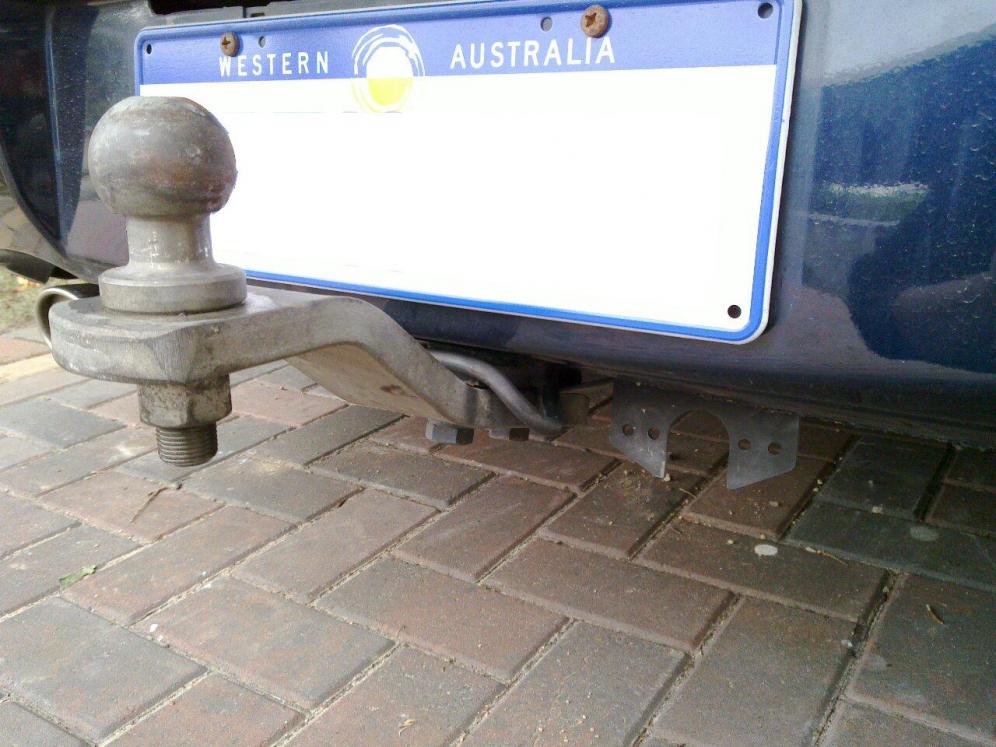
So this is where we got left off. This setup will require hand signalling...
")
Difficulty: Easy
Length: 30 Minutes
Equipment/ Tools
- Electrical plug spades (
like these)
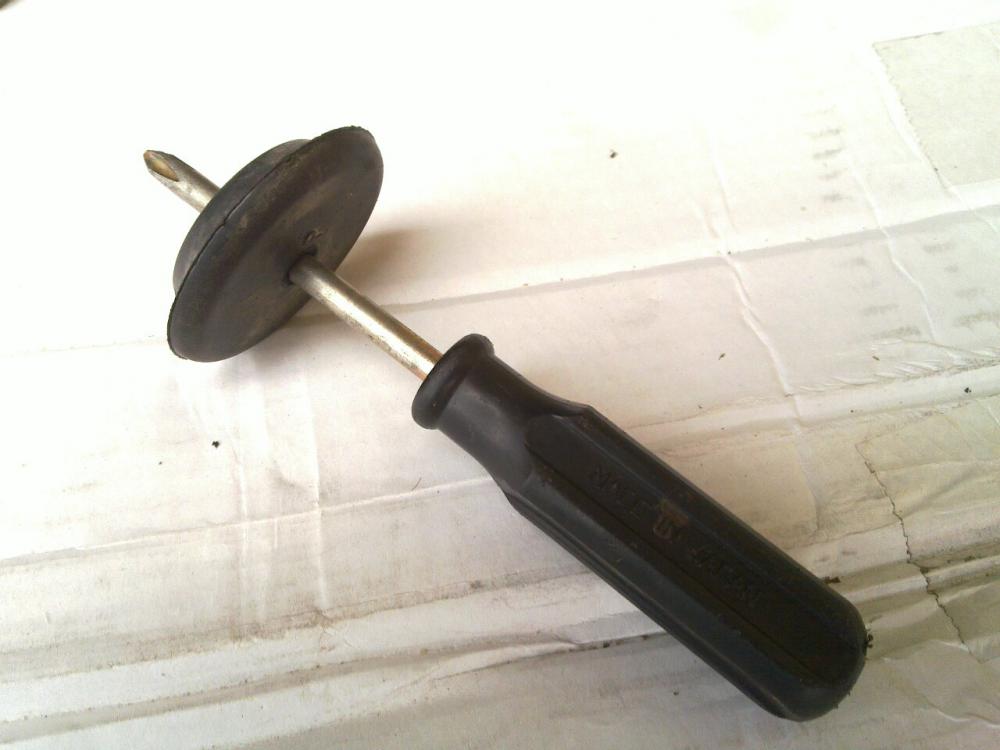
- Screw driver (flat)
- Crimping Tool (
like these)
- Wire Cutter/ Stripper (
like these)
- Multimeter
Optional
- Electrical Tape/ Heat Shrink
- Solder and Soldering Iron
Steps
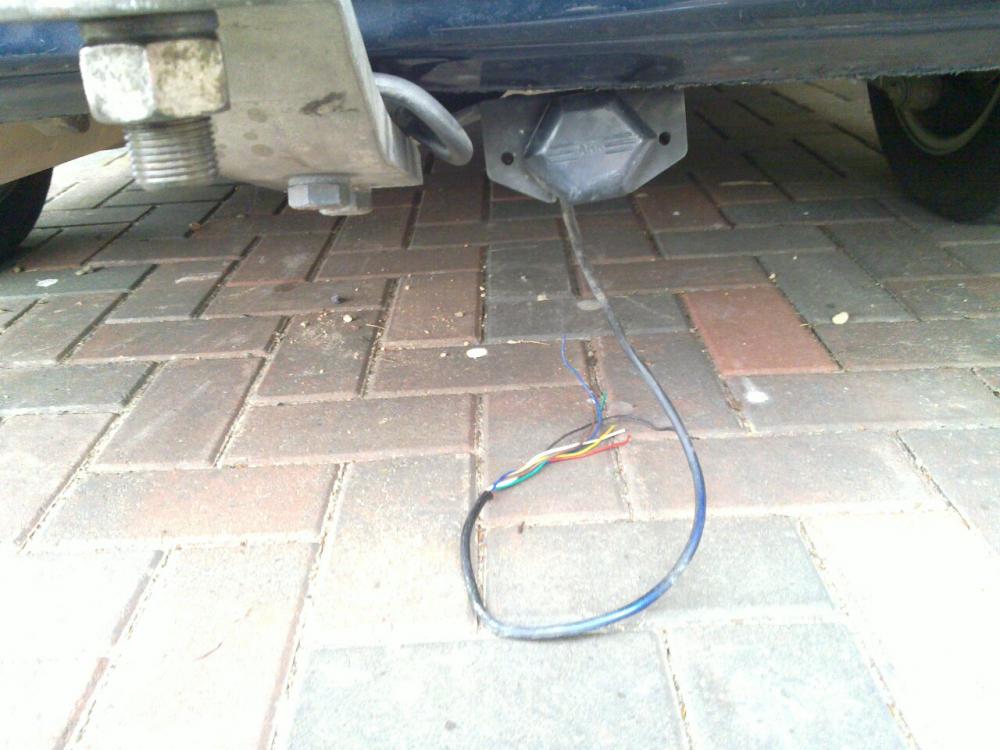
- Install trailer plug
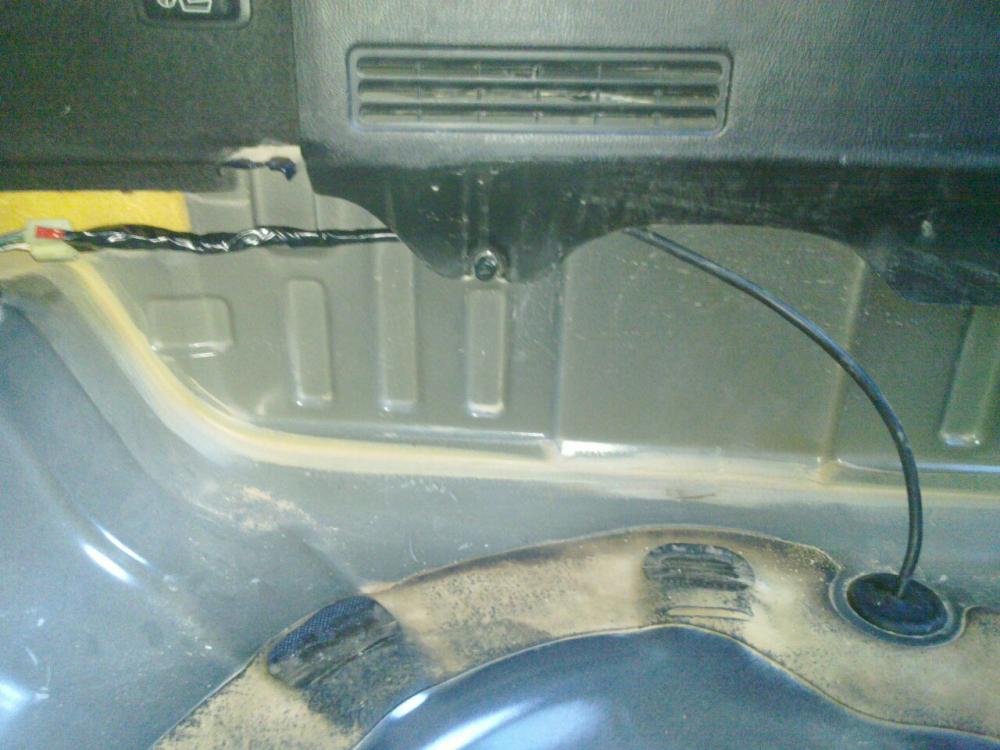
- Locate grommet on underside of wheel well
- Remove grommet
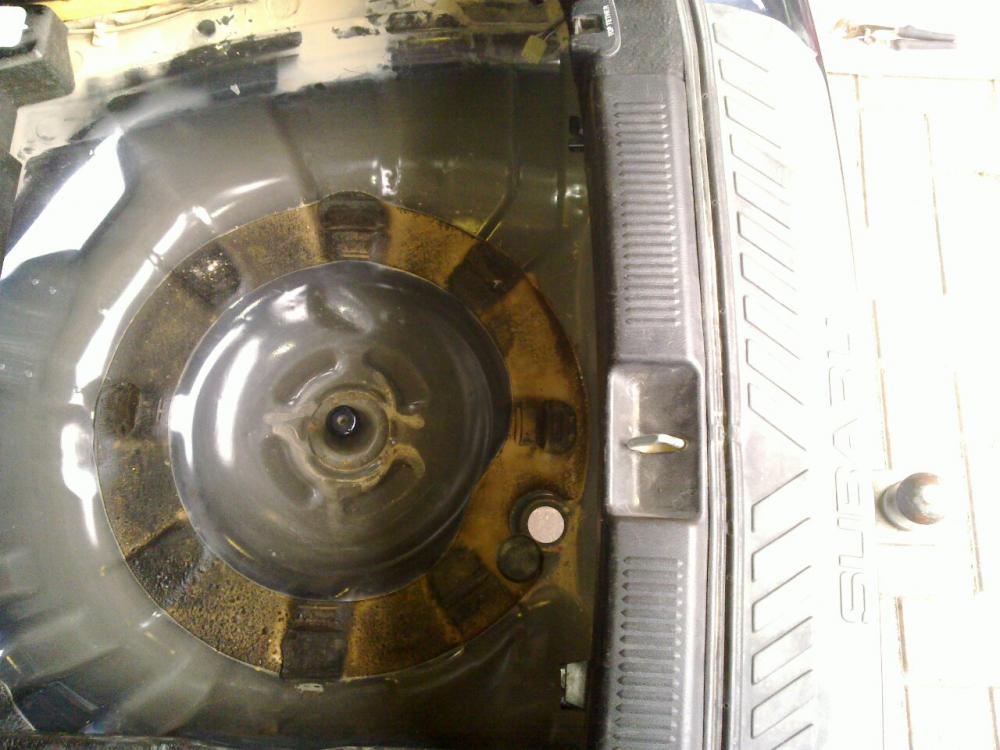
- Poke hole in grommet
- Pull wire through

- Reinstate grommet

- Locate trailer harness. According to the wiring diagram, this is connector R79. A copy is available at
Download PDF Subaru Impreza 2004 Wiring Diagram | PDFTown.com
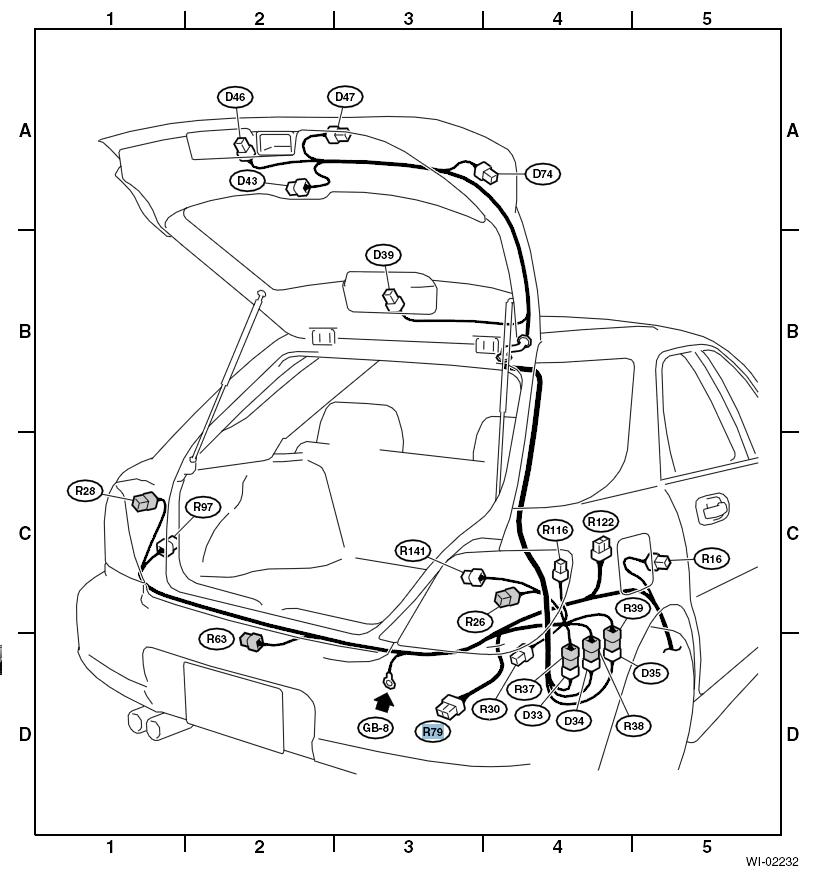
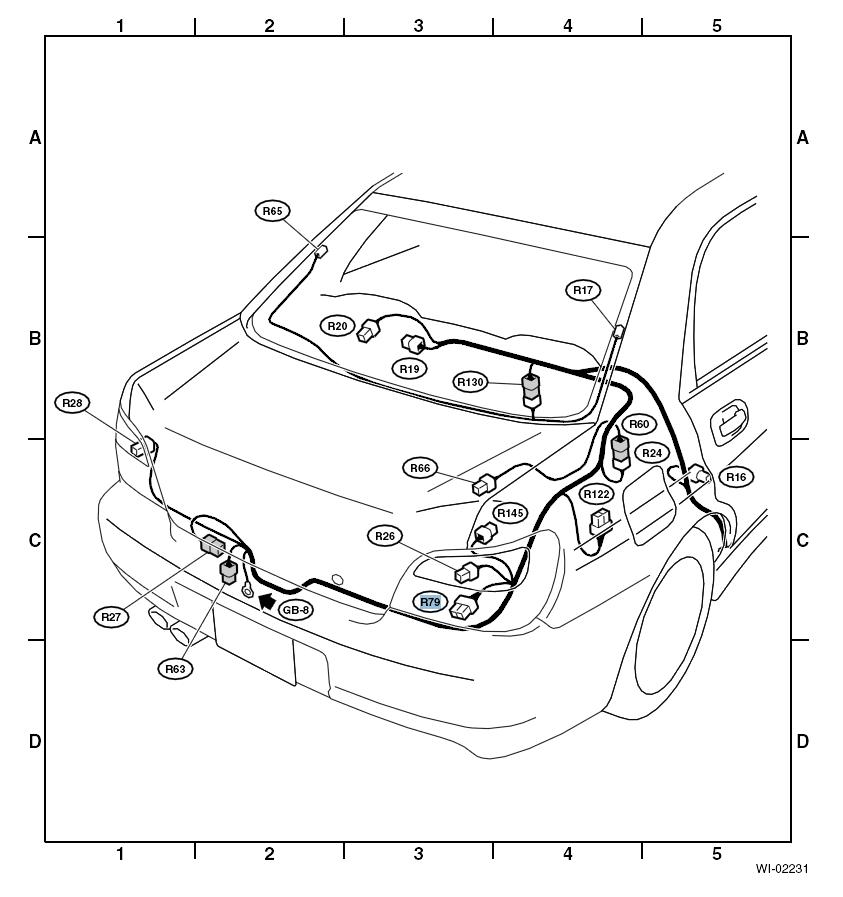
- Here are extracts from the manual showing the location of R79 connectors in the wagon and sedan:
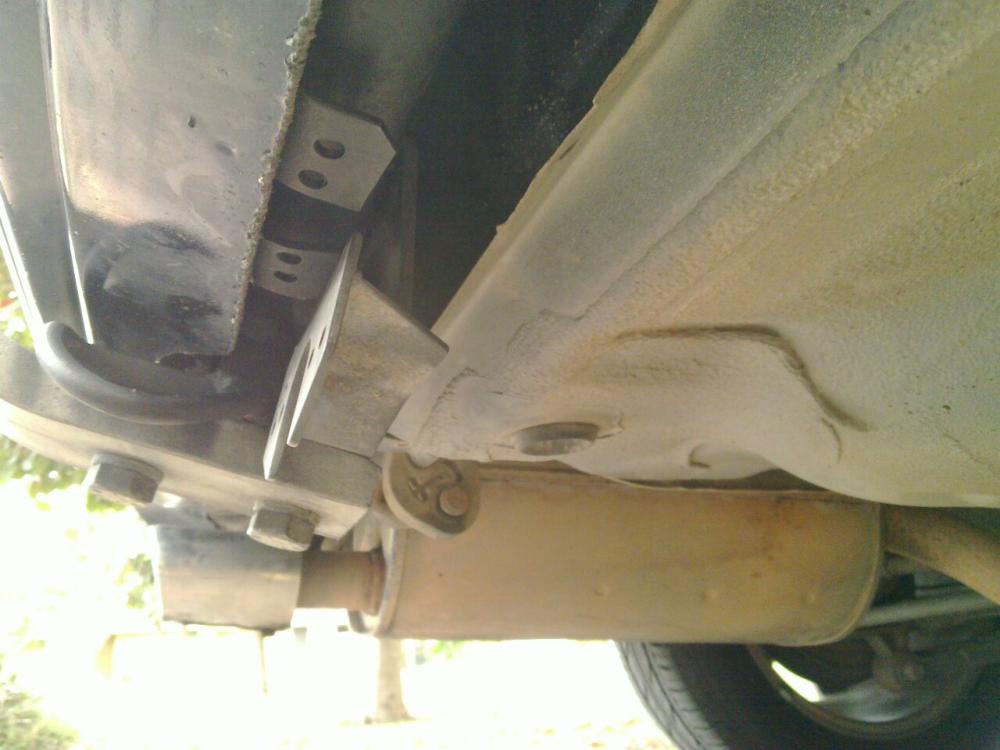
- This is where it is in real life - it needs to be freed.


- This is the pin out details of the connector. I've summarised it into a table to save you going through the wiring diagrams.
 To wire trailer harness into connector, performed the following
:
- Cut wires.

- Strip wires.

- Crimp spades onto end of wire.
- Solder wire (optional).

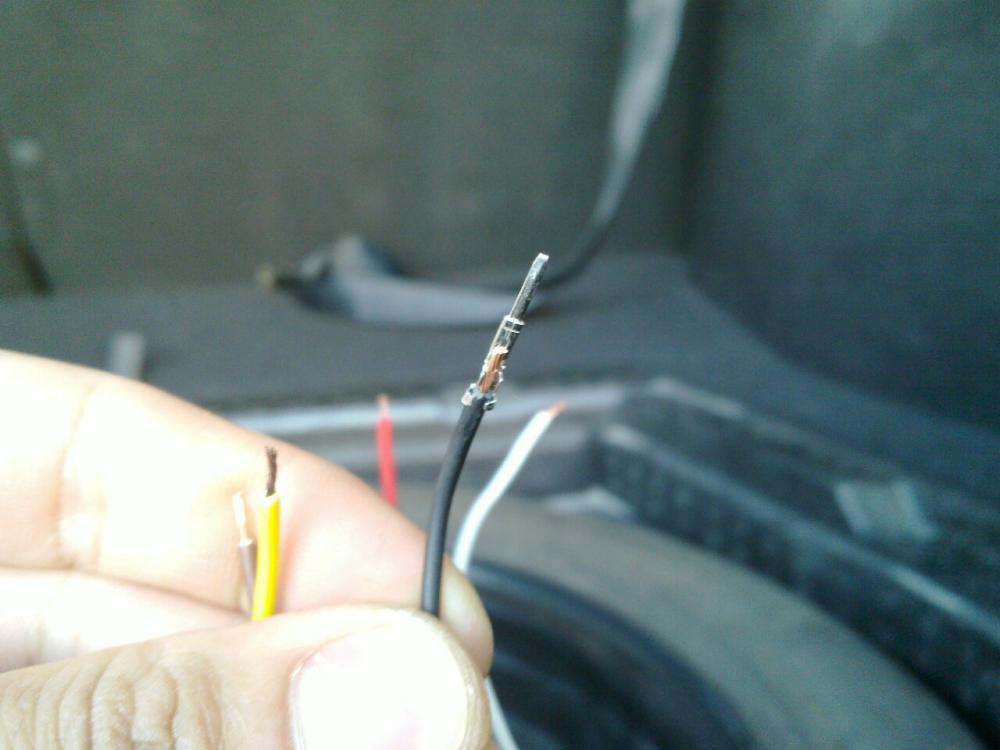
- This picture shows the spades all crimped and soldered.

- Now test for continuity with multimeter.
- Plug spades into R79 connector - for this step, use the above wiring table and any one of the following links (choose the type of trailer plug setup you have):
http://www.lion.net.au/TRAILER_WIRE/...gs%20Bases.pdf
http://www.cir.com.au/Documents/Trai...ng_Diagram.pdf
http://www.britaxae.com.au/downloads...g-Diagrams.pdf

- Plug trailer plug into socket and test the lights - it helps to have a spare foot to do the brakes. Otherwise, use the bricks from the first part of the install!
- Once tested and all is working fine, tape up (optional).
- Neaten up wiring route (optional).
- Reinstate boot interior.
- Start towing


All done
